Using the Inbound Connection
Using the Inbound Call Template for inbound calls
Depending on what Callout Authentication you choose in the first step of the Inbound Call Template wizard, Declarative Webhooks provides 2 options for using inbound calls:
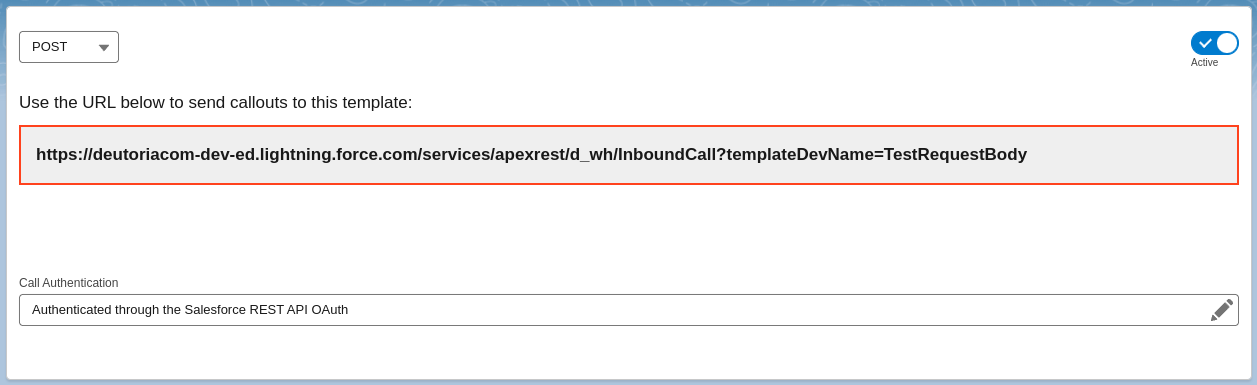
- If you select Authenticated through the Salesforce REST API OAuth, the external system trying to send requests to your template needs to know how to authenticate into Salesforce’s API, then it can use the provided URL to make calls.
- If you select any other Access Type, the Declarative Webhooks Relay Server will generate a URL for this template, which you can use as a public URL or with a custom authentication.
Authenticated through the Salesforce REST API OAuth
When using this option, the only way to make calls to this template is through Salesforce REST API, which requires the external system connecting to Salesforce to authenticate using one of Salesforce’s OAuth authentications. A URL is generated for you on the template page that you can use to make calls after authentication.
More details about Salesforce authentication here: https://developer.salesforce.com/docs/atlas.en-us.api_rest.meta/api_rest/intro_oauth_and_connected_apps.htm
Using Declarative Webhooks Relay Server
Any Callout Authentication other than “Authenticated through the Salesforce REST API OAuth” uses the Declarative Webhooks Relay Server, a Heroku app that can connect to Salesforce and relay the call body.

When you view the Inbound Call Template record, you should see the URL generated by the Relay Server.
NOTE: This will be the URL used by any external system to send data into Salesforce using that Inbound Template.

This is a public URL, unique to this template, that the external system can call with the POST body and the Relay Server will connect into Salesforce and relay the message body to your template.
So you can copy this URL and set it at the external system that wants to send messages into Salesforce.
The page also displays which user is connected to DWRS and runs the actions in your org. In order to change the user, you can go to the Administration page, Inbound Call Templates subtab and you can reconnect with your user.
If you see the message below, you might need to self-authorize first

But don’t worry, all you need to do is to select the “Self Authorize” button. You will see a pop-up to allow the Declarative Webhooks Relay Server to access your SFDC instance.

Clicking “Allow” will authorize your access to the Relay Server canvas app and store your org’s details so that the Relay Server can connect to your Salesforce org and relay the calls.
Check our “Security” section to see more about Declarative Webhooks Relay Server.
