Step 4: Inbound Call Response Body (Form-Encoded Body)
Defining the response body of the Inbound Call
This page is where you can define the response body that is sent back when an inbound call is made, if Form URL Encoded (x-www-form-urlencoded) is selected in the Response Body Format input. If you selected JSON (application/json), check the JSON Builder.
Form Encoded Builder
You can define the body that is sent back for 3 different response types:
- 200: Sent when the call is successful
- 4XX: Sent when there are issues with the request (unauthenticated, body format is incorrect, etc)
- 5XX: Sent when an internal server error occurs in Salesforce. That usually happens in one of the actions defined by the user.
NOTE: Once you start mapping fields in the JSON Builder, you CANNOT change the Main Object on your Inbound Call Template. If you want to change either of these, you need to remove all mappings set in the builder. Then you have the option to update the Main Object. This is by design as the values set in the response body are dependent on the Main Object.
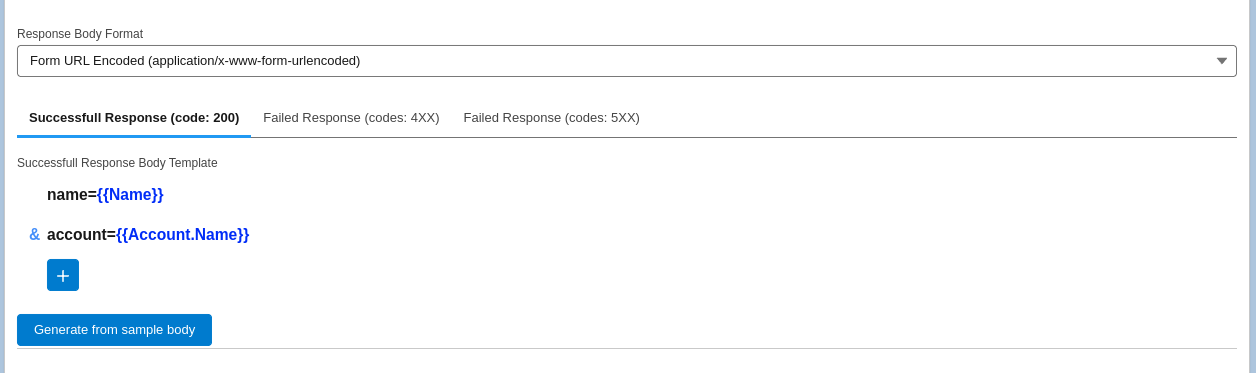
The Form-Encoded body is composed of name-value pairs in the format name1=value1&name2=value2…
In order to define new body elements, click on the ‘Add’ icon. A new popup will be displayed, where you can add the details of the form element:
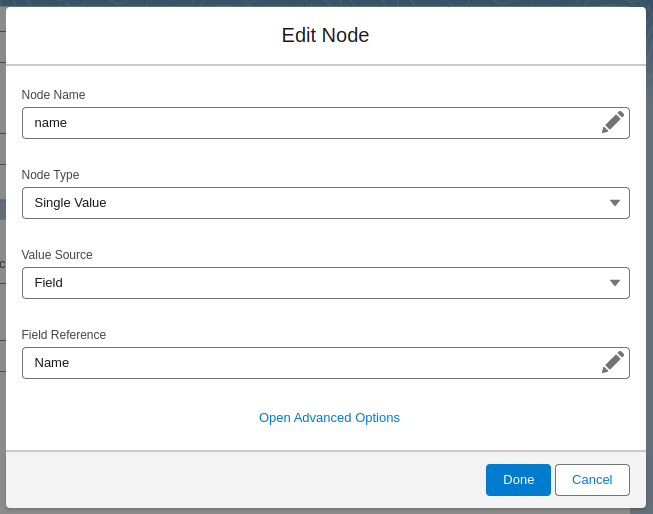
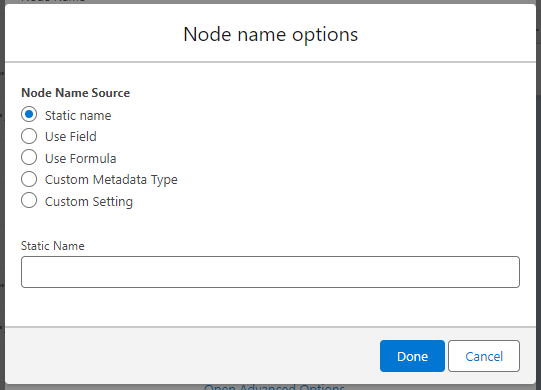
When adding a new node, first we need to set the Node Name, a name to define the value. You can type in a static node name (the most commonly used option) or dynamically define a node name by clicking the edit icon on the right side of the input. The edit button opens a popup with various options for dynamic node name generation, including using a field from the main object, a formula, a custom label, a custom metadata value, or a custom setting value.
If you select the Node Type as “Single Value“, you can specify what value to use in the “Value Source” input:
- Static value: You can set a static value to be sent to the server for the selected name. Simply select “Static” for Value Source, then add your static value below.
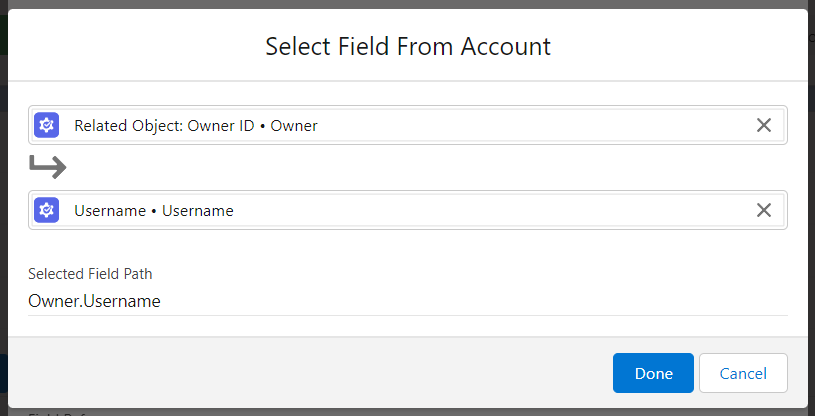
- Field: This option allows you to map a field from the selected main object or any related record. Select “Field” for Value Source. The Field Selector allows you to select fields from the Main Object, any related object and any related list. For example, if the Main Object is Account, the selection below allows you to select the Username of the Owner of the Account.
- If the selected field is a Blob field (for example Attachment -> Body or ContentVersion -> VersionData), then you will also be asked to provide the encoding to be used: Base64, Hex or Raw (which only works for UTF-8 content)
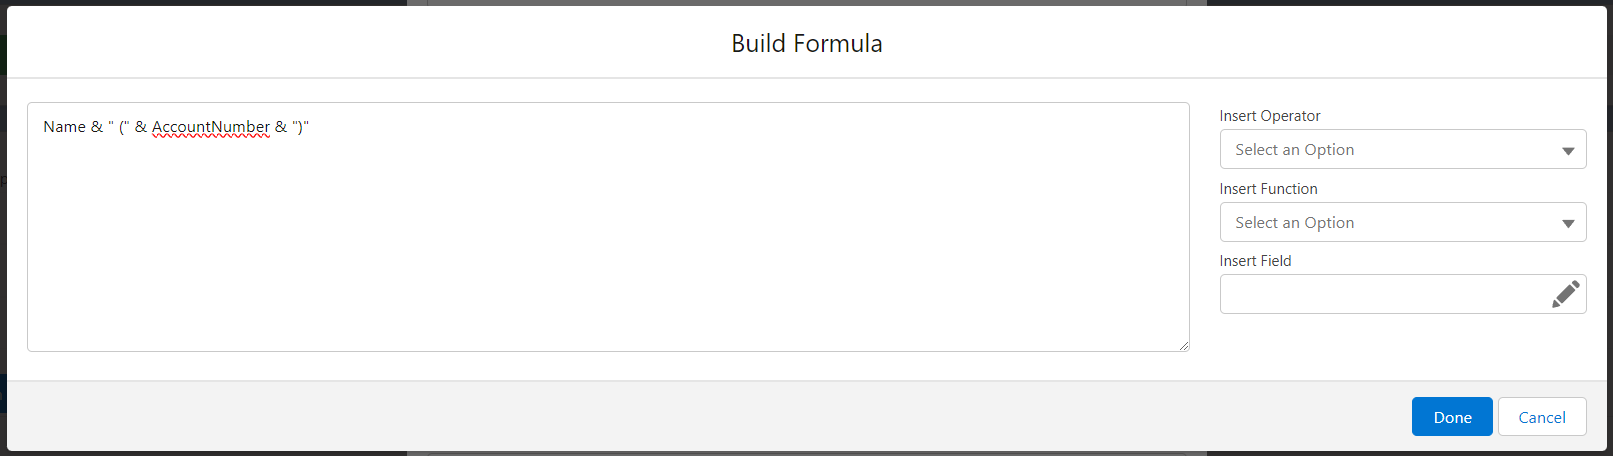
- Formula: This option allows you to build a formula using the current object’s fields that will be used to generate the node.

- Clicking the Edit icon will open the Formula editor. See more details in the “Using Formulas” section of this user guide.
- Custom Label: This option allows you to provide a custom label name to be mapped in that node.
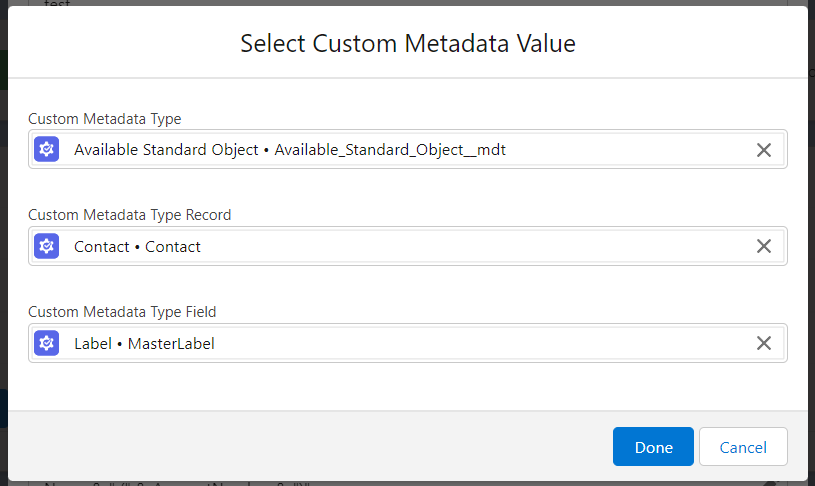
- Custom Metadata: This allows you to map a field from a Custom Metadata Type record.

- Clicking the Edit icon will open the Custom Metadata selector.
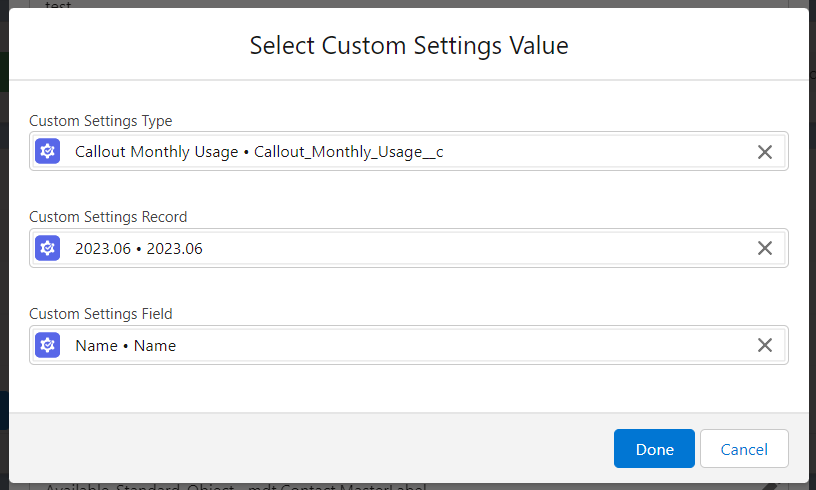
- Custom Setting: This allows you to map a field from a Hierarchy or List Custom Setting record
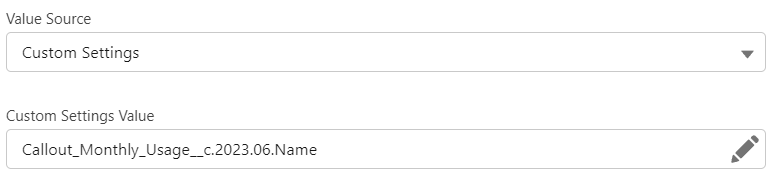
- Clicking the Edit icon will open the Custom Setting selector.
- Server Returned Error Message: This is only available when you build the error (4XX or 5XX) response bodies. When this is selected, the node will contain the actual error or exception returned.

If you select the Node Type as “Built using an Apex Class“, you can generate the value of the node using an Apex class.
Create from sample body
If you have a body Sample from the API documentation from the app or platform being implemented, you can create your Response Body quickly by utilizing the ‘Generate from sample body’ button. This enables you to quickly map your Main Object to your external system bypassing creating Node Names with stand-in values.
Copy the sample Response Body and paste it into the text box.
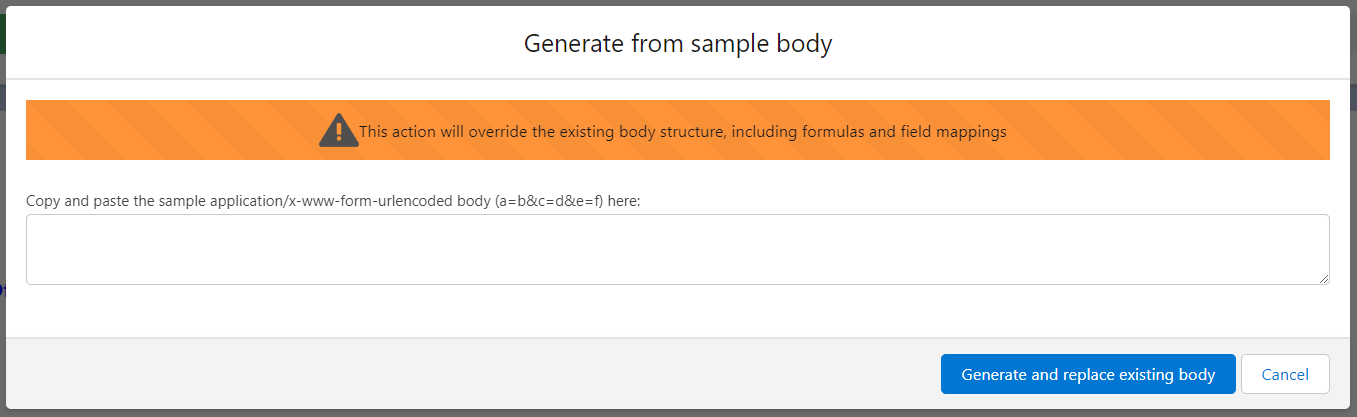
Click “Generate and replace exiting body” and you will see this has been added into the Response Body of your Inbound Call Template. From here, you can begin mapping Salesforce fields from your Main Object by selecting the edit icon next to the row and replacing the static values from the sample body. This helps you to quickly map without having to manually create each Node Name with a provided guide from your external system API documentation.
NOTE: If you have started mapping in the fields in the body and you opt to utilize the ‘Generate from sample body’ button, your previous mapping will be overwritten. It is advised you begin with your sample body first before mapping additional Nodes.
