Implementing a synchronous Callout in a Flow and use the Response Body
This method is helping you make a synchronous call from a flow and use the response code and body in the flow. If you don’t need to use the response body in the flow that initializes the callout, we recommend the asynchronous callout action or screen component since they are easier to set up.
Implementing a Callout in a Flow and use the Response Body
If you need to make the call in a flow and use the response code and body within the flow, you need to take the following steps:
- First, the response body classes and an invokable class need to be generated. Don’t worry, you don’t need to write any code, the platform will do that for you.
- Second, add the action to the flow and use the response in it.
Generating flow classes
After you defined the callout template you want to run, we need to generate the invokable action class and the response body classes. The class generator wizard will walk you through the process, and you won’t need to write any code.
From the Callout Template page layout, click on the “Generate Flow Classes” button.

In the popup that gets open by the “Generate Flow Classes” button, you can see if and what classes are already created for this template.
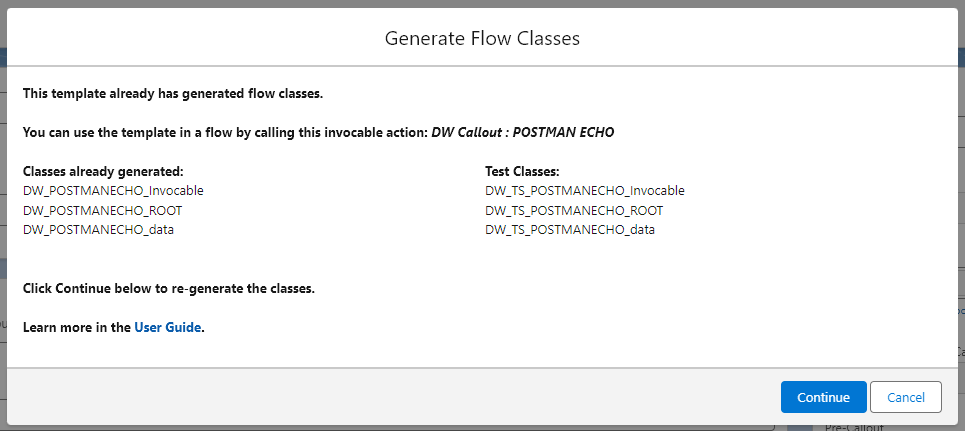
Clicking “Continue” will redirect you to the wizard that generates/regenerates the flow classes for callout and response structure.
The first page of the wizard will show you a list of classes that will be generated. The class names and test class names are automatically generated, but you are allowed to edit the names. For each class, you can also see a list of child nodes that are going to be generated as variables in that specific class.
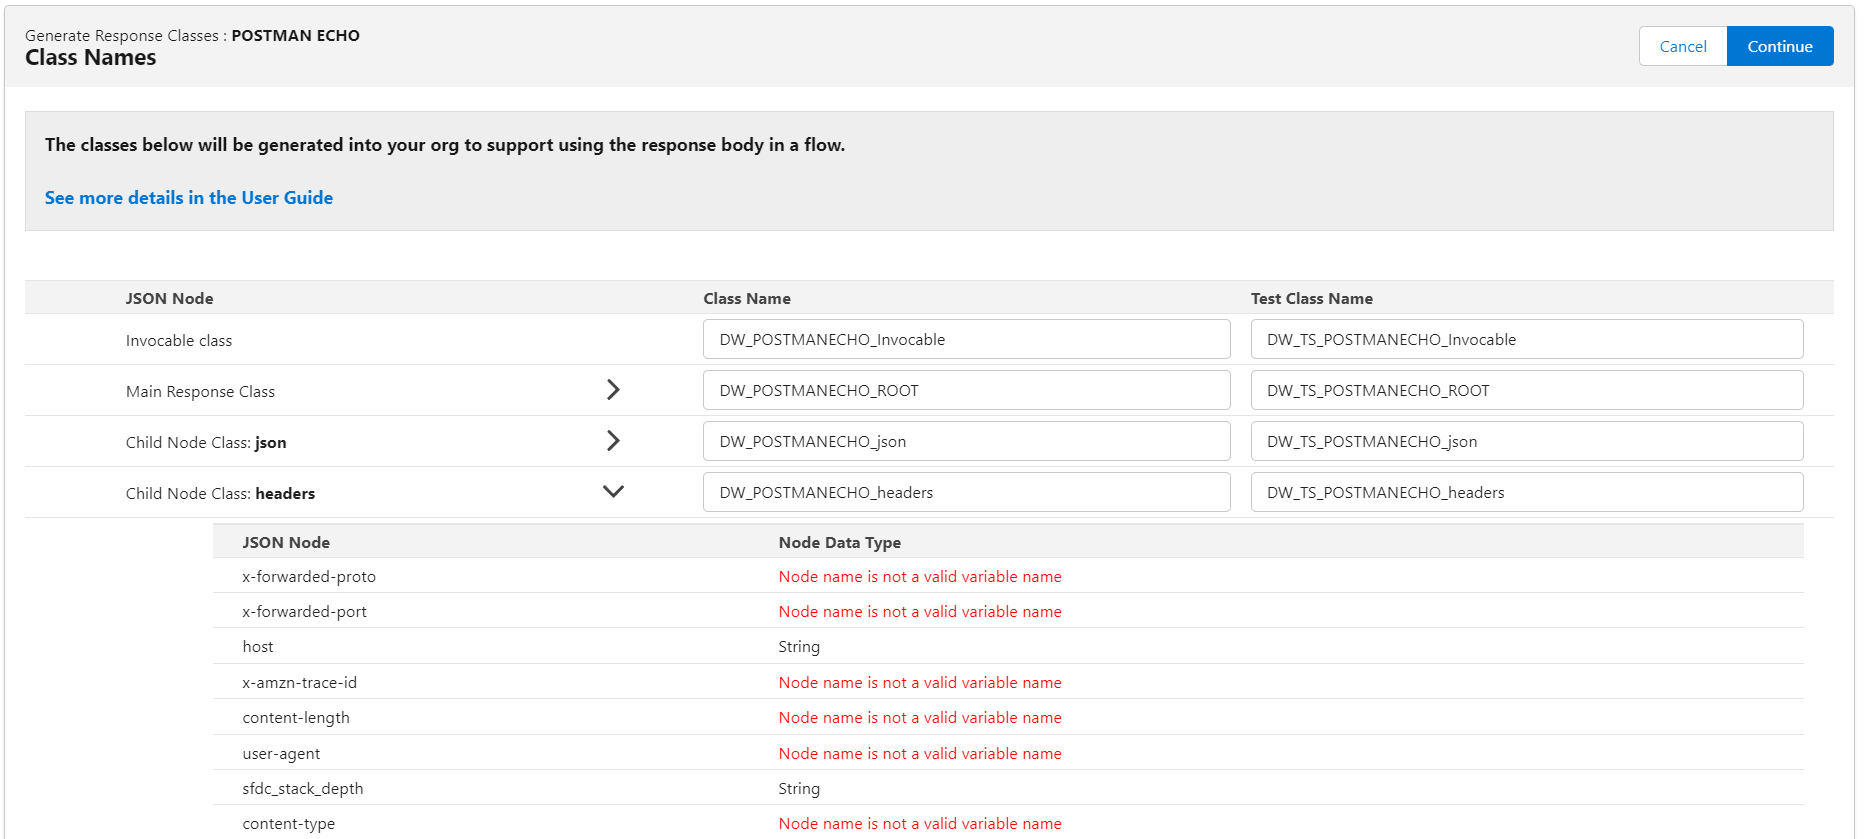
The first class generated is the Invokable class that will represent the flow action. The second one represents the main class of the JSON response. The other classes represent definitions of other object nodes.
Not all nodes can be turned into a class or variable. If the node name is not a valid variable or class name, that node will not be generated and it will not be available in the flow.
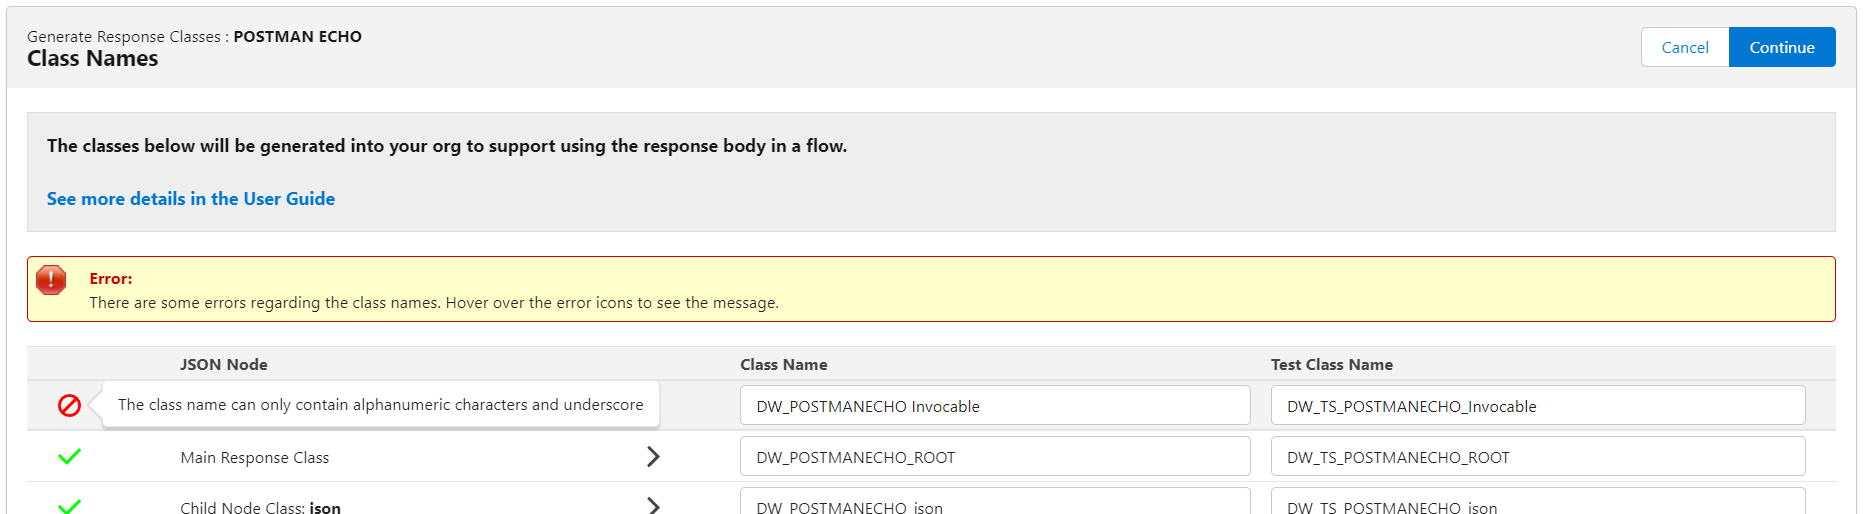
After you edit the class names, you can click on ‘Continue’ to go to the next step. If there are any errors or warnings regarding the class names, you should see error and warning icons next to each line.
If everything is Ok, when you click “Continue”, the Declarative Webhooks Relay Server will start deploying the classes. If you see the “Self-Authorize” prompt, it means you need to allow the Declarative Webhooks Relay Server canvas app to use your user to deploy. Click “Self-Authorize” and approve the canvas app to deploy classes in your org.
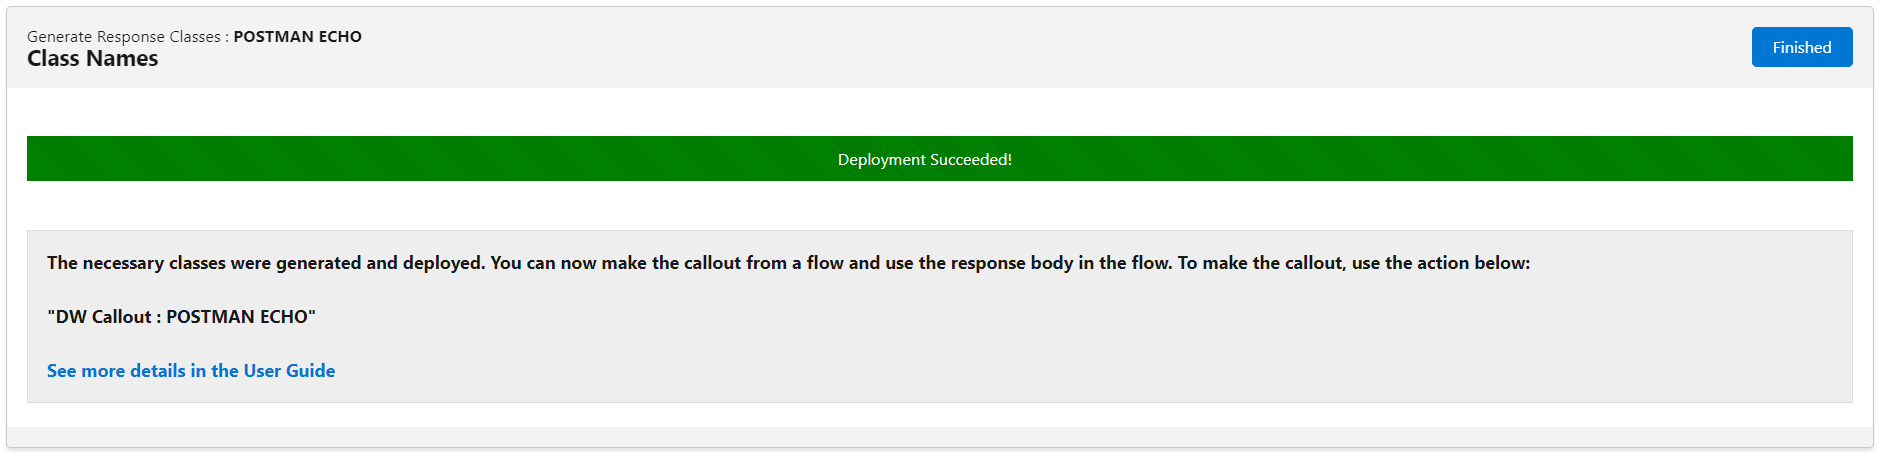
When it finishes, you should see the following success screen. This screen will also inform you about what flow action to use to make a call with this callout template. In the example below, the action is “DW Callout : POSTMAN ECHO”.
Make the callout in a flow
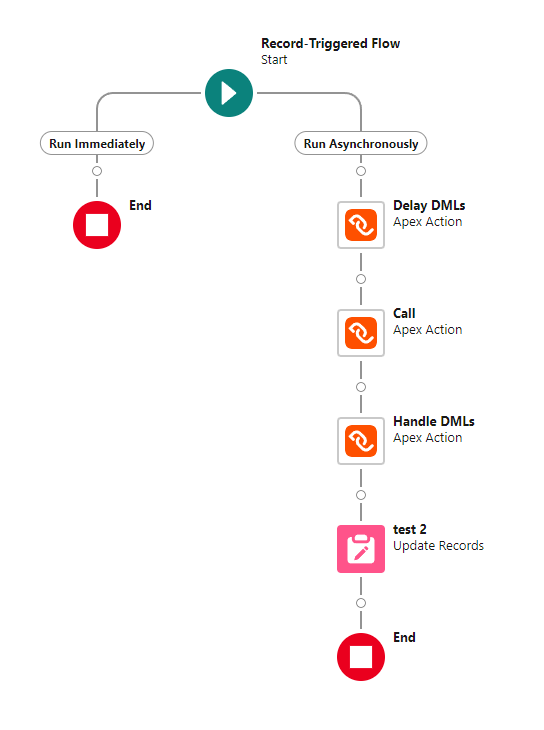
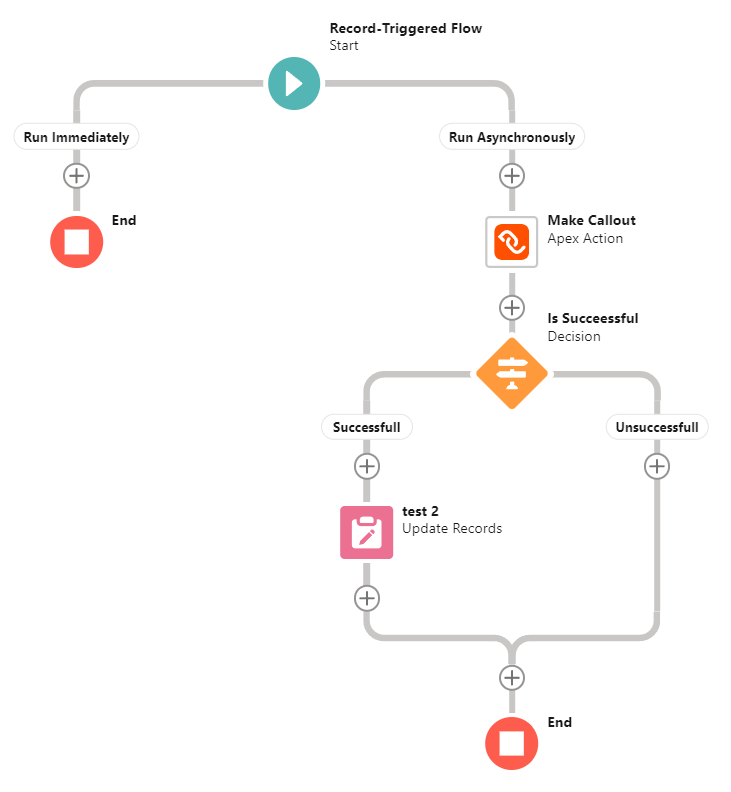
Now, you are able to make this callout from a flow and use the response. In our example, I’ve used a record-triggered flow with an asynchronous path (asynchronous path needed because Salesforce does not allow a callout after a DML operation in the same transaction).
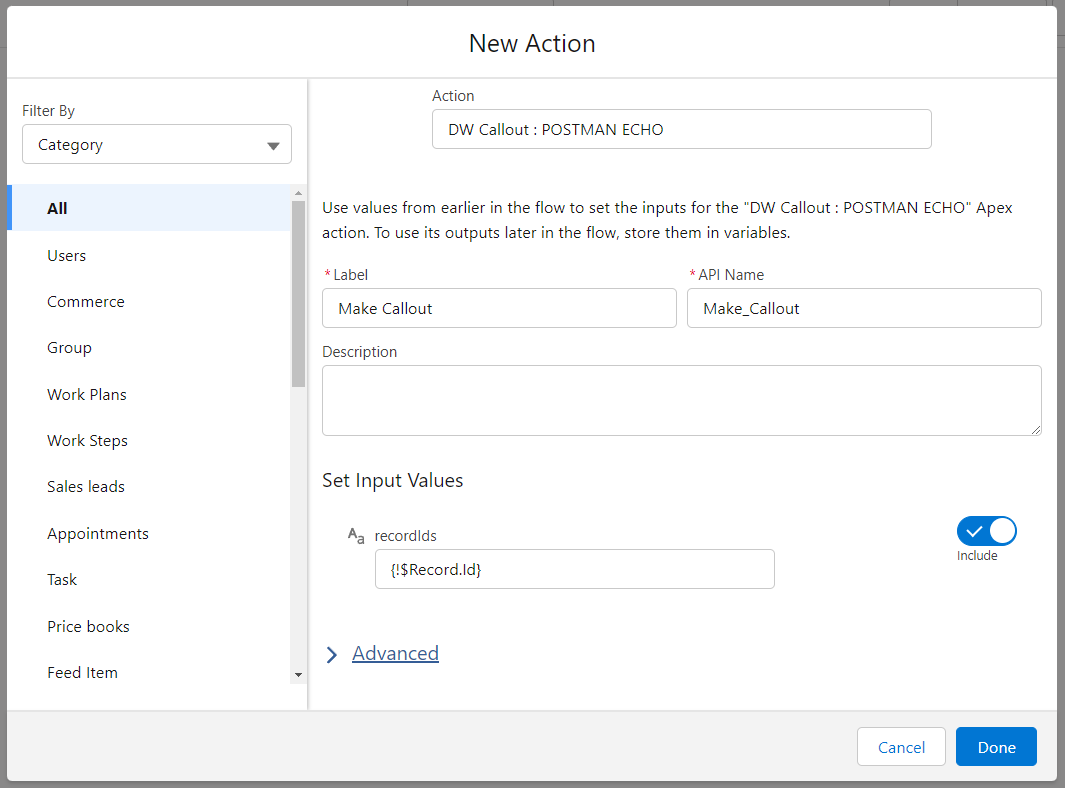
In the asynchronous path, we can now add the action generated earlier (in our case, “DW Callout : POSTMAN ECHO”) and provide the record Id to be used for this call.
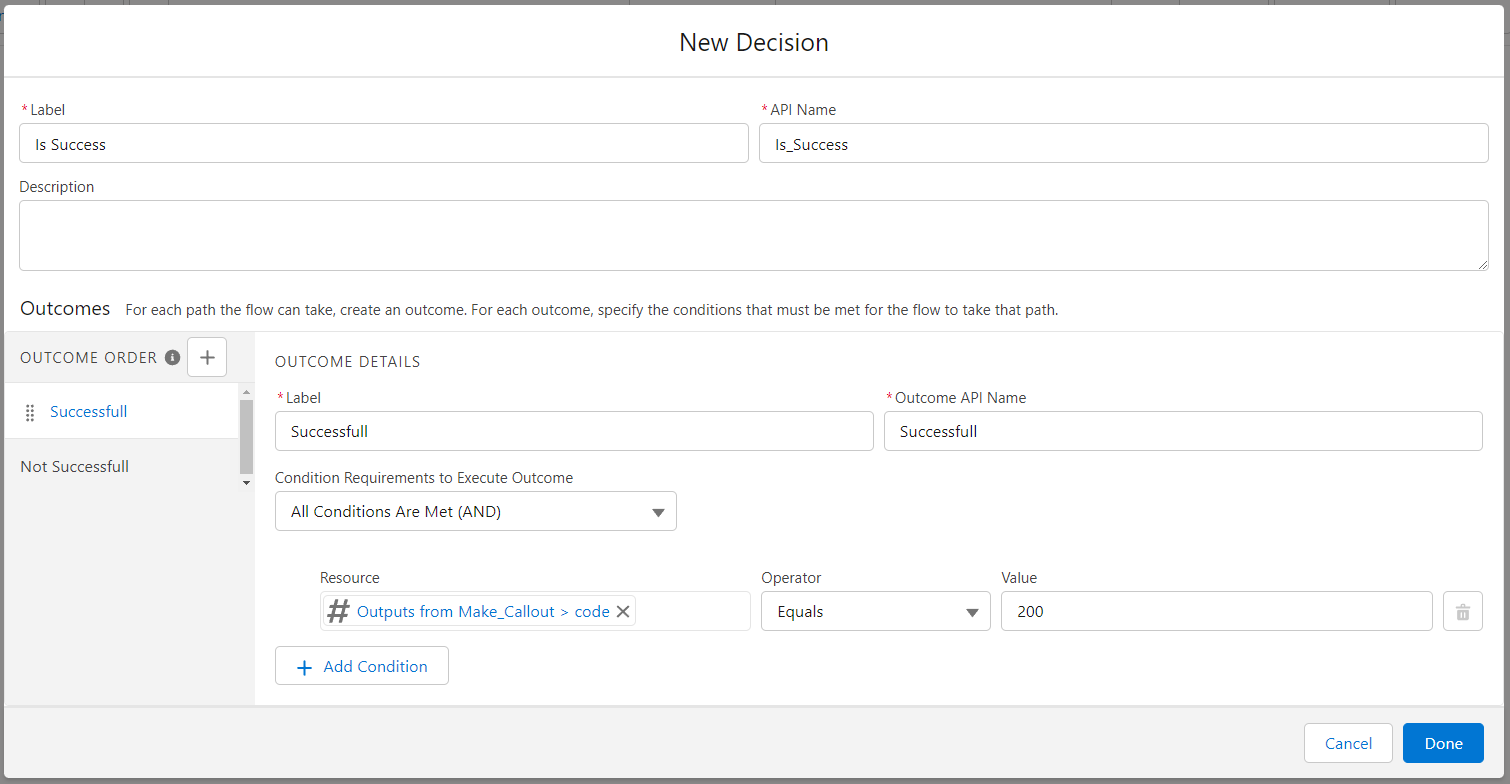
Now I can add additional logic that can use the response. For example, a condition step to check if the response was successful:
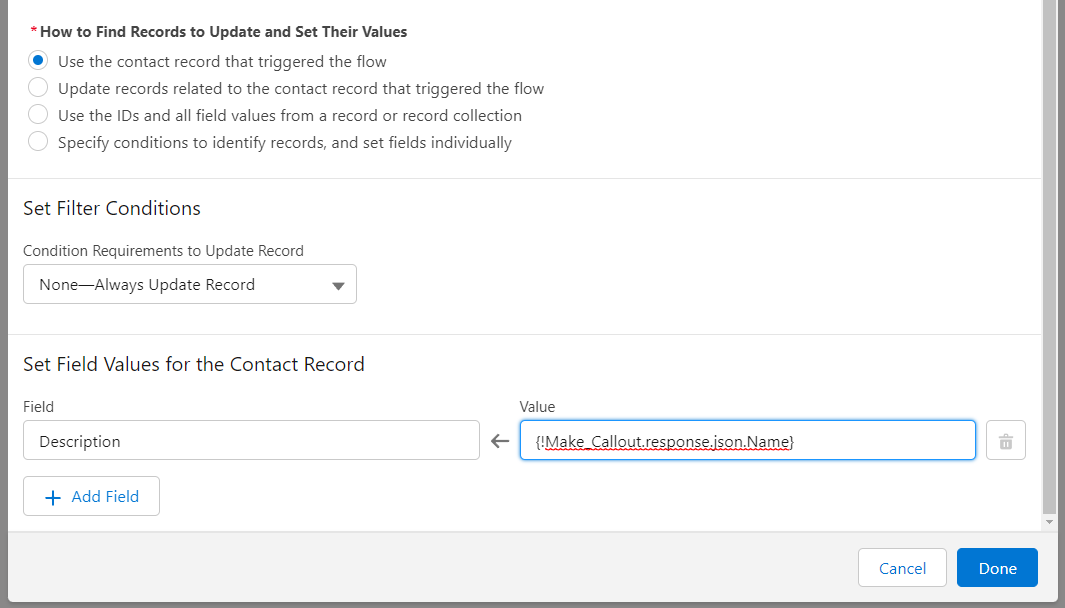
And then update the record with data from a node from the response:
After all the changes, our example flow looks like this:
Delaying Declarative Webhooks DMLs for multiple calls
If you need to make multiple calls one after another in the same transaction, you can hit the “Uncommitted work pending” error, as the DW callouts make updates to the database to insert logs and run any action that you define. To avoid that, we implemented 2 actions that you can use in the flow:
- Enable the delay of DMLs in Declarative Webhooks calls : Use this action to enable the delay of DMLs. Use it anytime before the first Declarative Webhooks call.
- Handle Declarative Webhooks DMLs : Use this action to actually run the Declarative Webhooks related database changes that were delayed by the previous action. Use this after the last Declarative Webhooks call.
Here’s an example of usage. Making two synchronous calls in a flow.