Administration Page
About the Admin Page
This Declarative Webhooks Administration tab in the Declarative Webhooks app is a page that provides you with an overview of templates, limits, logs, scheduled jobs and many more settings.
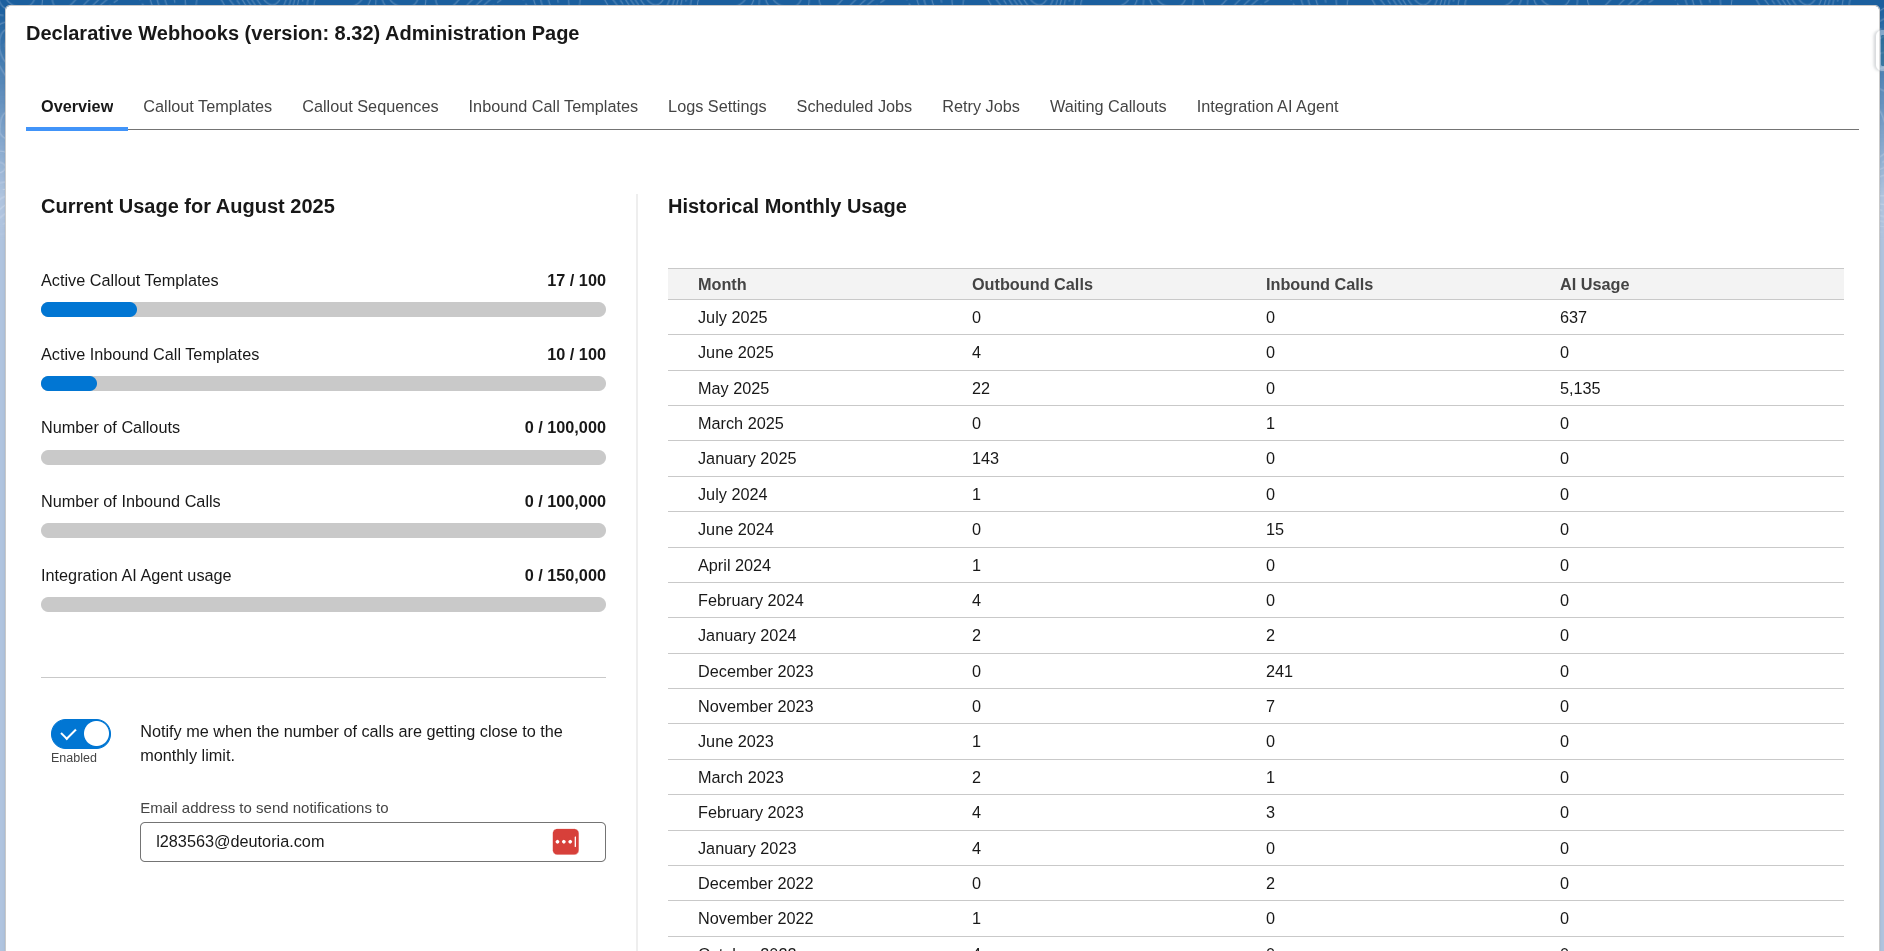
Overview
On the left, you’ll find the limits for the current month (test callouts are not included). On the right, the Historical Monthly Usage chart shows data for the past 12 months.
You can also specify an email address to receive notifications when your usage approaches or reaches the limit. After updating the email address, be sure to click Save Changes to apply your update.
Callout Templates
This subtab lists all your templates (both active and inactive) along with their name, id, developer name, method, and callout URL.
From here, you can edit existing templates or create a new Callout Template using the + button. You can also quickly activate or deactivate templates by clicking the toggle icon.

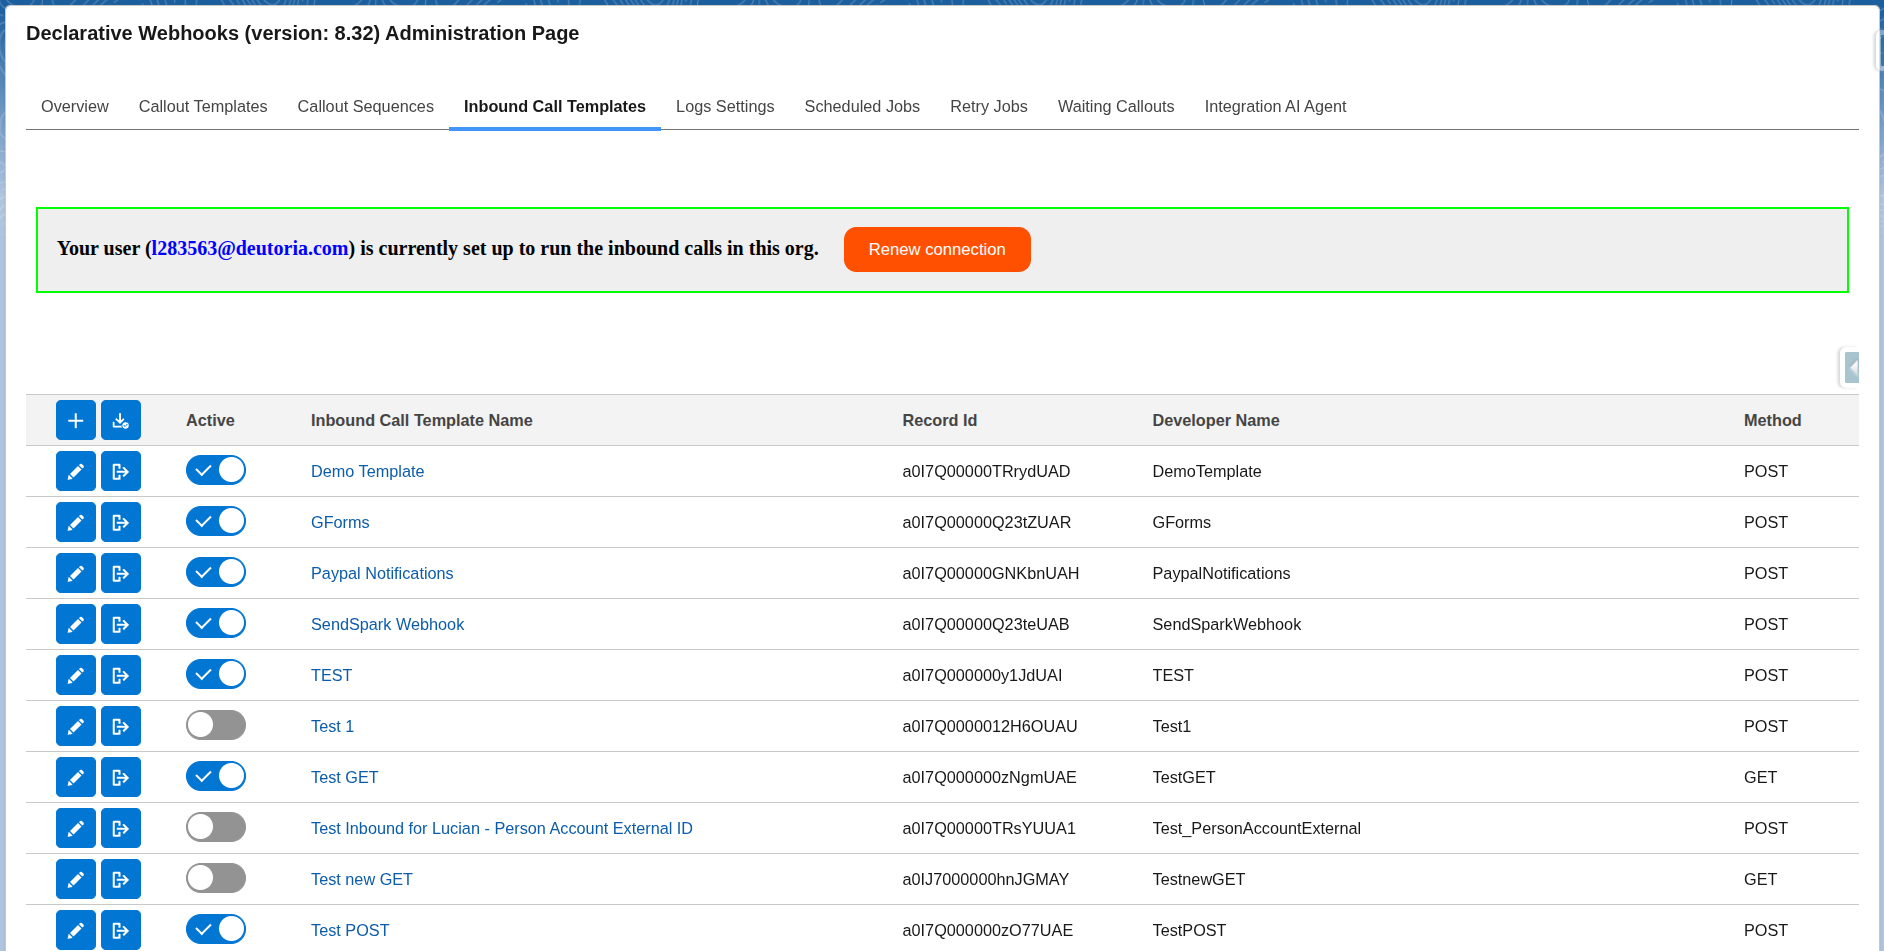
Inbound Call Templates
This subtab shows all the inbound templates you’ve created, both active and inactive. You can edit templates directly from this screen or create a new Inbound Template using the + button. To quickly activate or deactivate a template, use the toggle switch.
At the top of the page, you can see the status of your Declarative Webhooks Relay Server connection and change the user responsible for running inbound calls.
- If your org is not connected, you’ll have the option to connect using your username.
- If your org is already connected, you can renew the connection or switch the running user to your account if a different user is currently set.
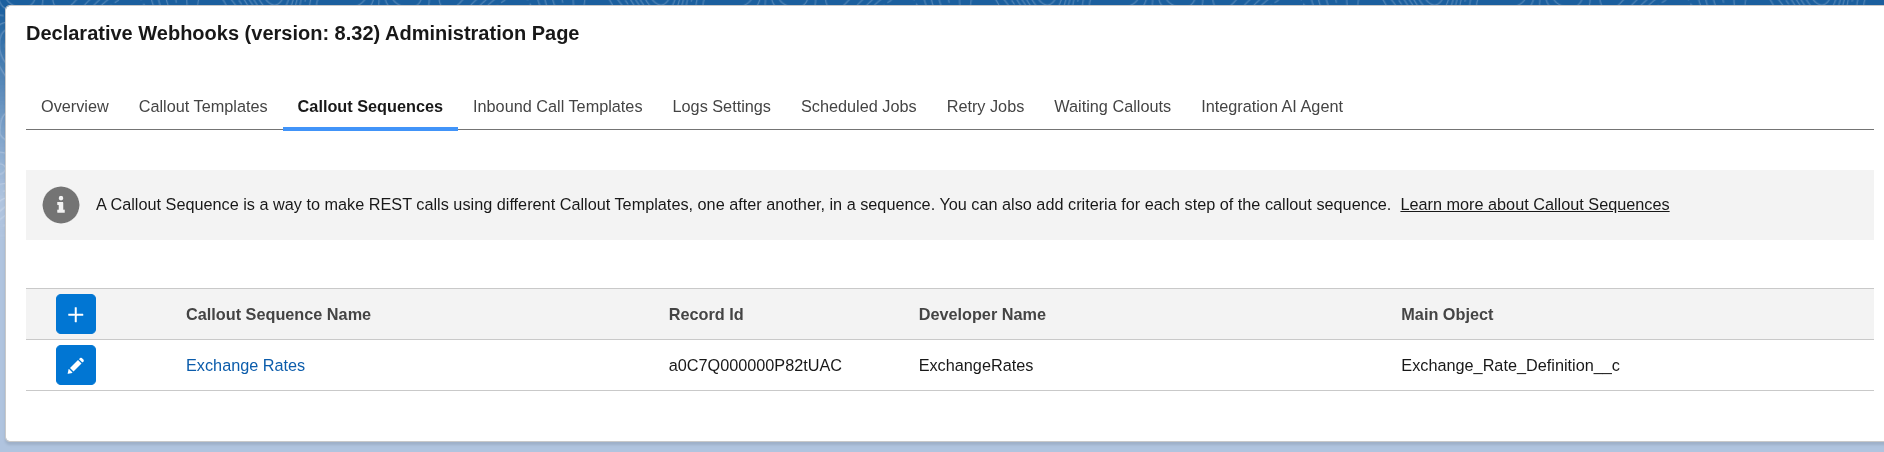
Callout Sequences
This subtab displays all callout sequences you have created. You can edit your sequence from this screen or create a new sequence using the + button.
Logs Settings
In this tab, you can enable jobs that regularly delete older logs (call logs or sequence logs) and set how many days to retain the logs before they are deleted.
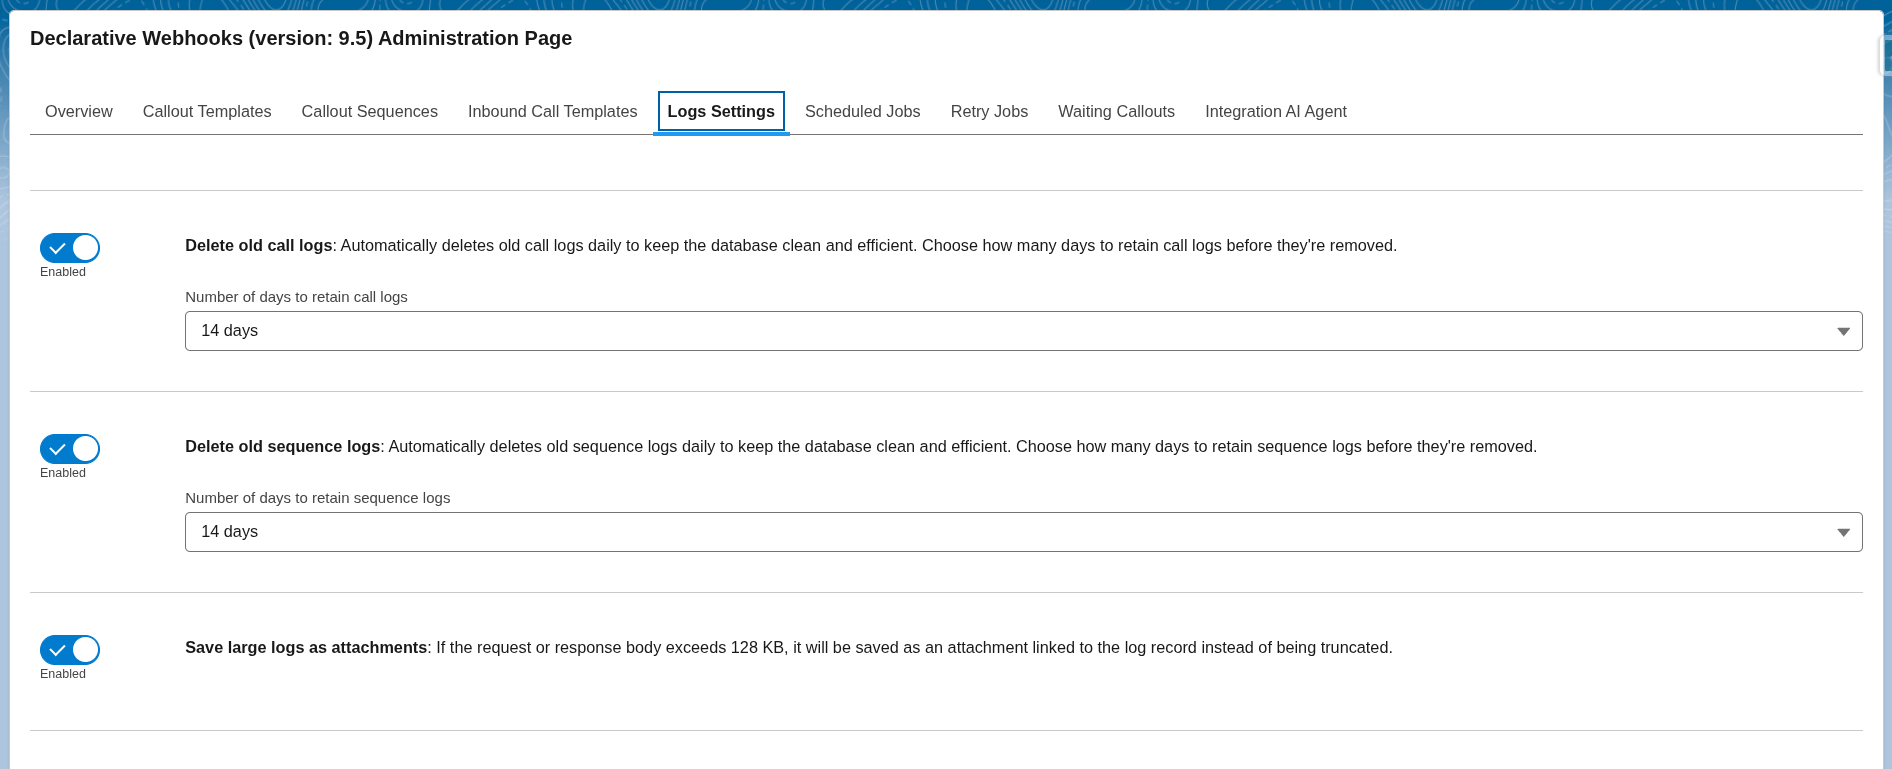
You can also choose to save large request and response bodies as attachments. Normally, bodies larger than the 128 KB limit of a long text field are truncated. By enabling this feature, Declarative Webhooks will store oversized bodies as attachments instead. Don’t worry! The Log View page automatically retrieves the body from the attachment and displays it seamlessly.
Scheduled Jobs
You have the option to schedule your calls based on a time of your preference. This can be set up within the Schedule Jobs subtab.
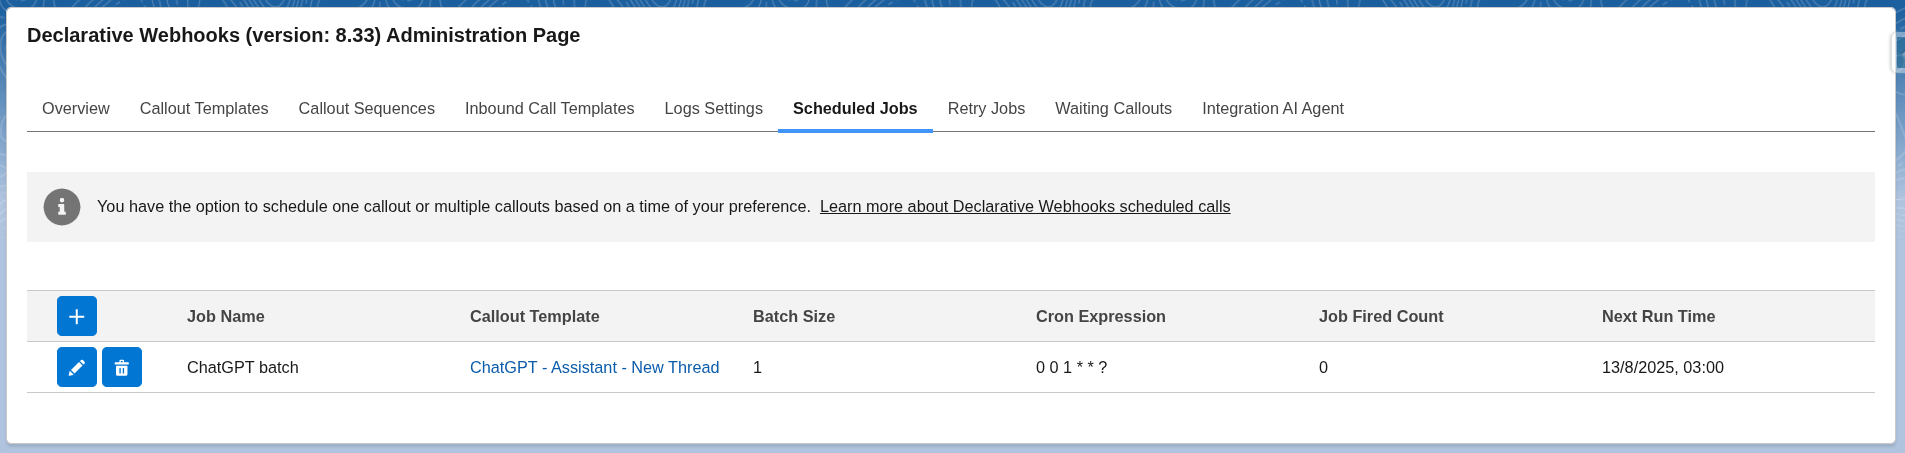
The column headers are defined as:
- Job Name: The Name of your schedule job
- Callout Template: Displays the template used by the scheduled job
- Batch Size: Total number of records that will be included in each call of the scheduled job
- Cron Expression: The scheduled CRON syntax of when your scheduled job will run. A CRON expression is defined as a string of fields separated by white spaces that represents a set of times.
- Job Fired Count: Total number of times this schedule job has ran
- Next Run Time: Next future run of the scheduled job
To schedule a callout to run periodically, follow the instructions here.
You can also edit some of the details of the scheduled job by clicking the edit button, except for the cron expression. If you need the job to have a different schedule, remove the job and schedule again.
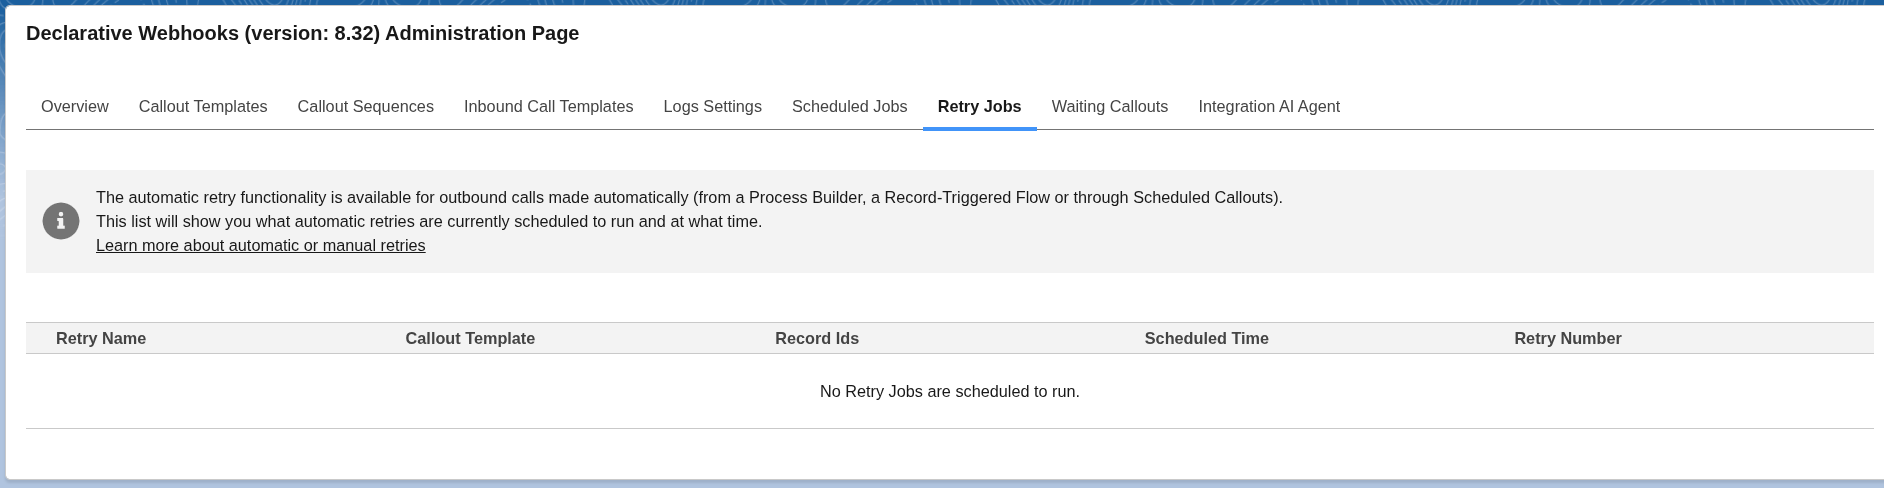
Retry Jobs
This tab is used to monitor the retries that are currently scheduled. When an automatic callout fails, a retry job is scheduled for a later time, depending on the admin’s choice. This list will display the jobs that are scheduled to run in the future. See more details in the Retry Support section.
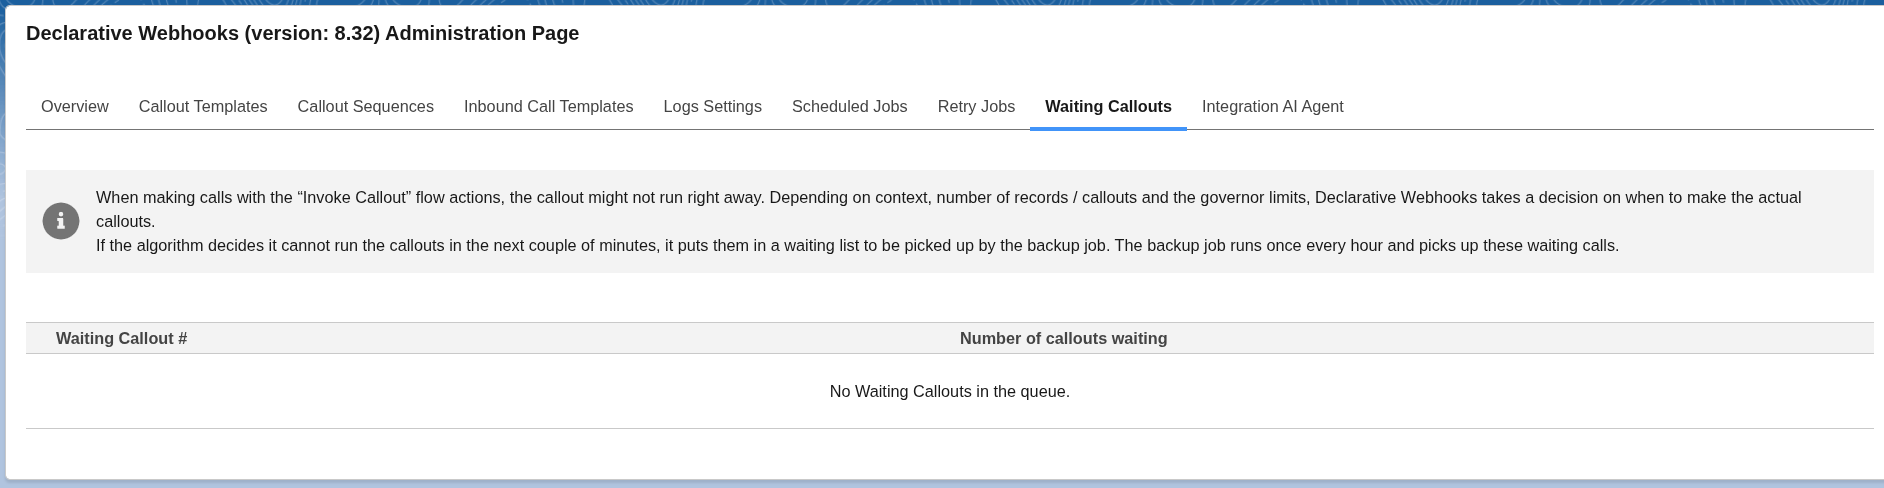
Waiting Callouts
When making calls with the “Invoke Callout” flow actions, the callout might not run right away. Depending on context, number of records / callouts and the governor limits, Declarative Webhooks takes a decision on when to make the actual callouts.
If the algorithm decides it cannot run the callouts in the next couple of minutes, it puts them in a waiting list to be picked up by the backup job. The backup job runs once every hour and picks up these waiting calls.
The list of waiting calls are found in the “Waiting Callouts” subtab.
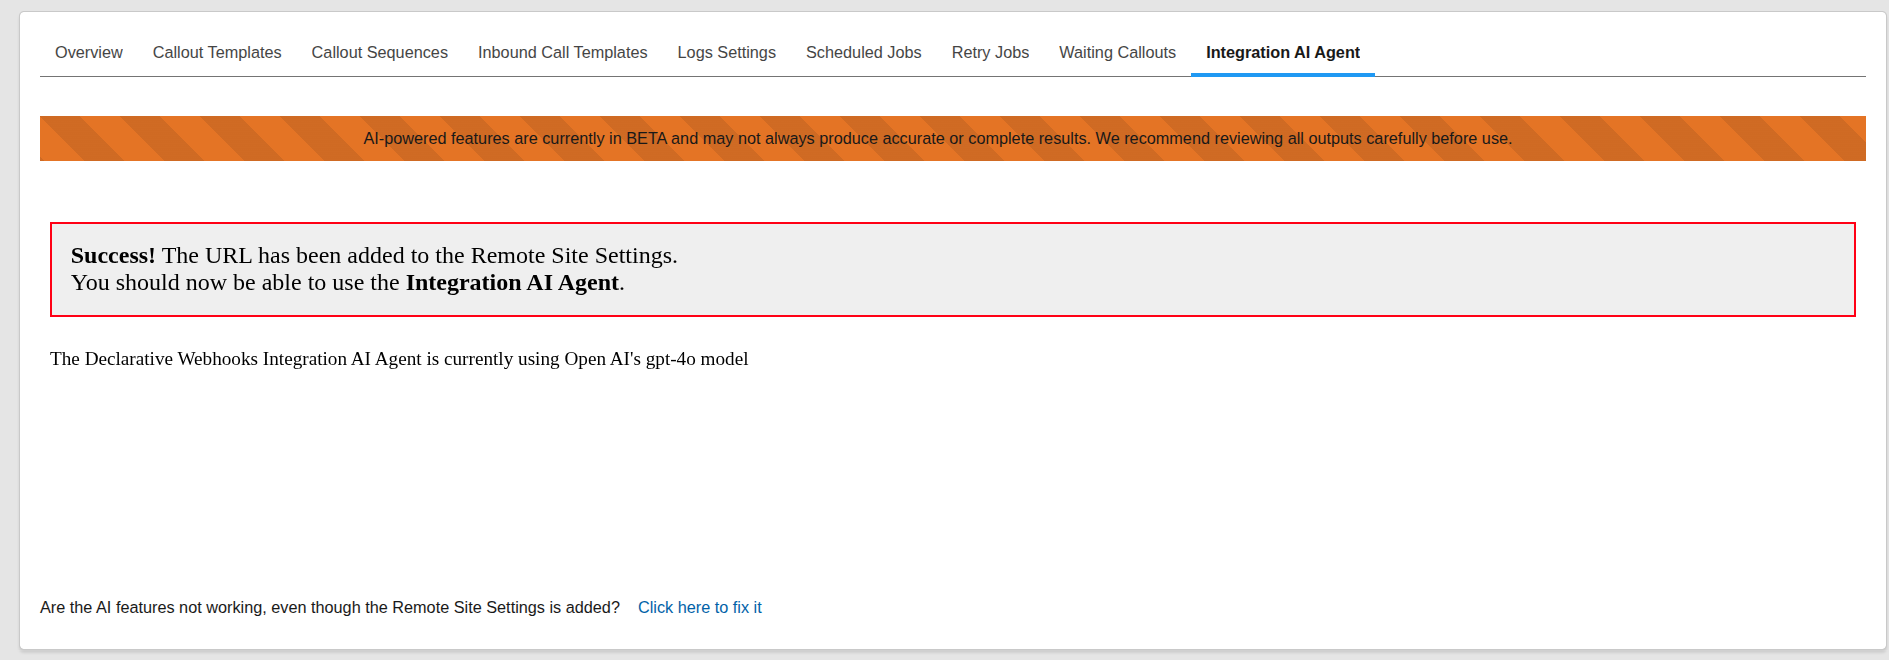
Integration AI Agent
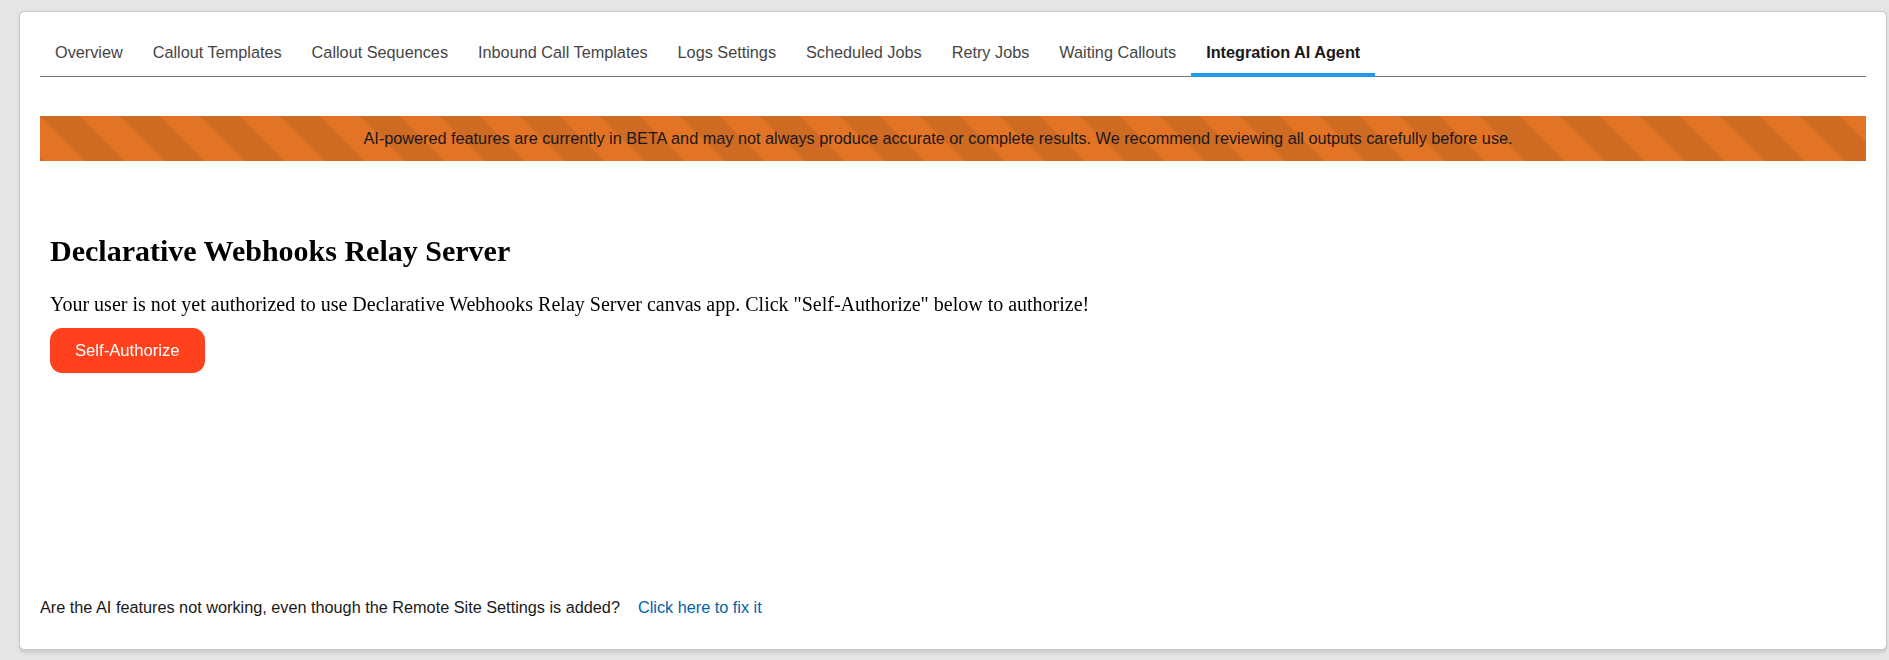
When you first install Declarative Webhooks, the Integration AI Agent, which allows you to use AI features, is disabled by default. This tab allows you o enable it.
If the Integration AI Agent is currently disabled, you’ll see a screen indicating that. In some cases, you may be prompted to authorize your user first. If so, click Self Authorize and follow the authorization steps.
The Integration AI Agent connects to https://ai.omnitoria.io, which requires a Remote Site Setting to be configured in Salesforce. To do this, simply click the button labeled Add https://ai.omnitoria.io to Remote Site Settings. This will automatically create the necessary entry.
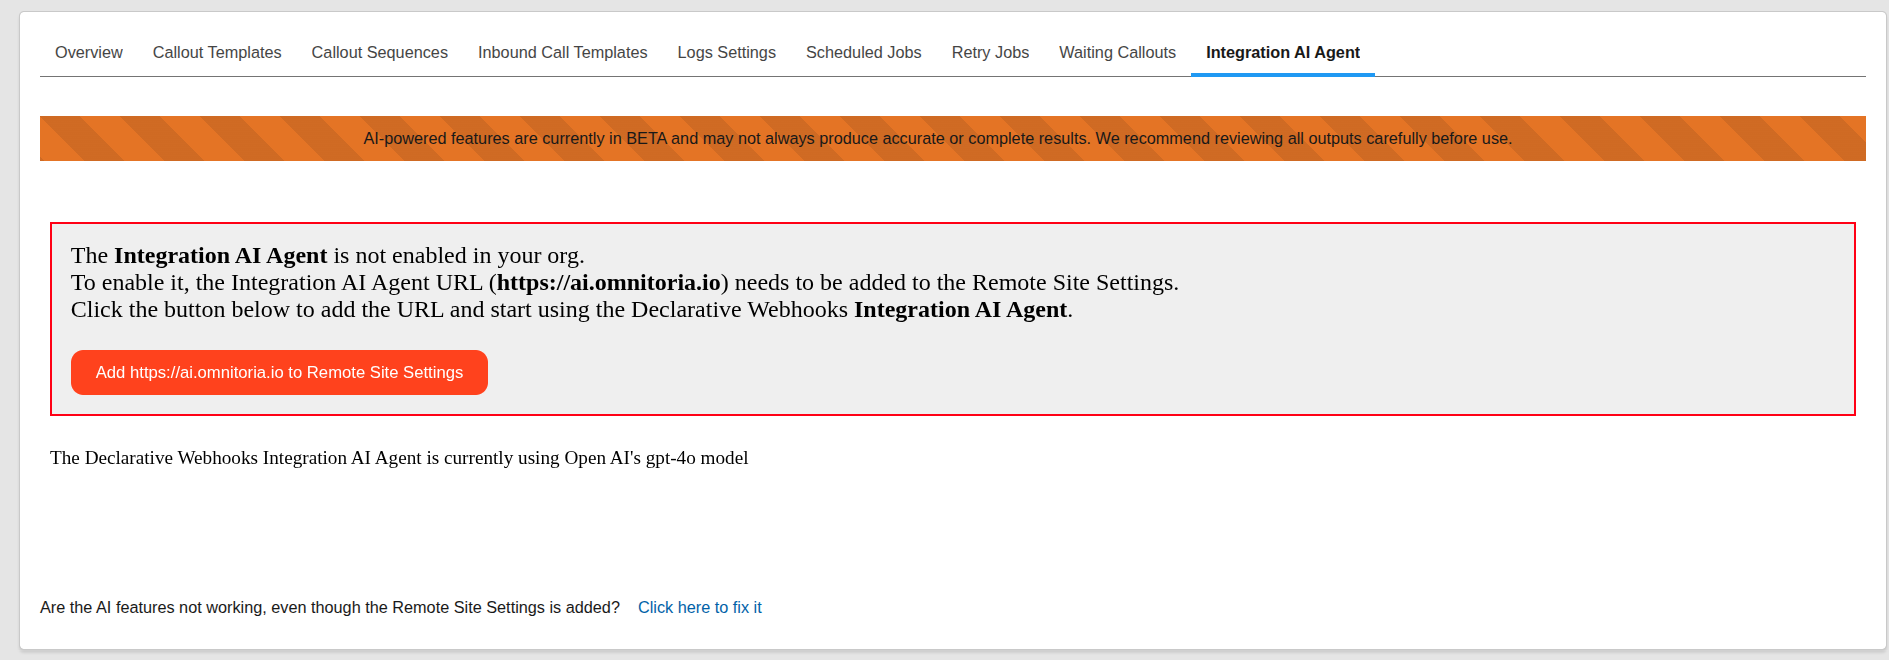
Once you’ve added the remote site, you’ll see a confirmation message indicating that the Integration AI Agent is now enabled. At this point, setup is complete and you’re ready to start using Declarative Webhooks with AI integration.