Step 4: Callout Template Response Body (JSON Format)
Define the expected response
This is where you define the expected Response Body for the JSON responses. For x-www-form-urlencoded responses, define your expected response in a form-encoded format.
About JSON
JSON (JavaScript Object Notation) is a lightweight data-interchange format. It is easy for humans to read and write. It is also easy for machines to parse and generate.
JSON is built on two structures:
- A collection of name/value pairs.
- An ordered list of values.
An object is an unordered set of name/value pairs. An object begins with { (left brace) and ends with } (right brace). Each name is followed by : (colon) and the name/value pairs are separated by , (comma). A value can be a string in double quotes, or a number, or true or false or null, or an object or an array. Exmaple: { “name” : “Maria”, “age” : 30 }
An array is an ordered collection of values. An array begins with [ (left bracket) and ends with ] (right bracket). Values are separated by , (comma). Example: [ “orange”, “apple”, “cherry” ] These structures can be nested. Example: { “name” : { “first” : “John”, “last” : “Doe” } , “email” : “john@example.com”, “children_age” : [ 12, 8, 3 ] }
More about JSON here: https://www.w3resource.com/JSON/introduction.php
JSON Builder
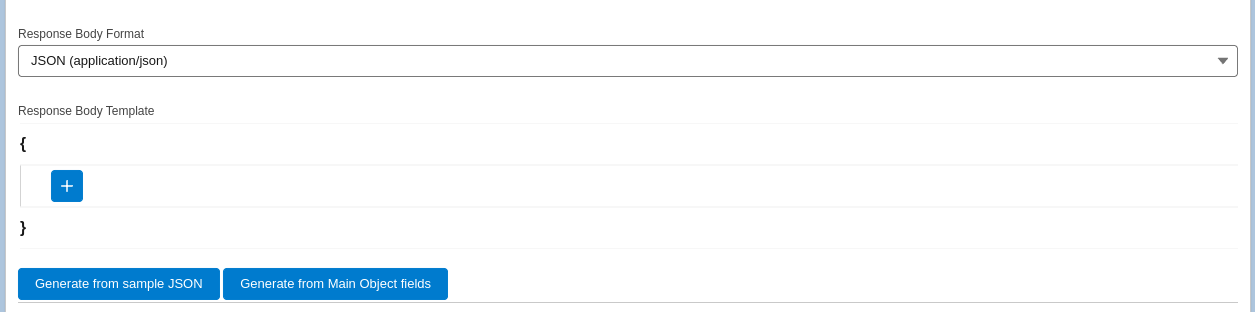
Let’s get started with the JSON Builder. To add nodes to the JSON body, select the ‘+’ icon as displayed below:
When adding a new node, first we need to set the Node Name, a name to define the value.

Then we need to select the type of JSON node this node will be. We have options to select either “Object”, “List of Objects”, “Single Value”, “List of Values”.
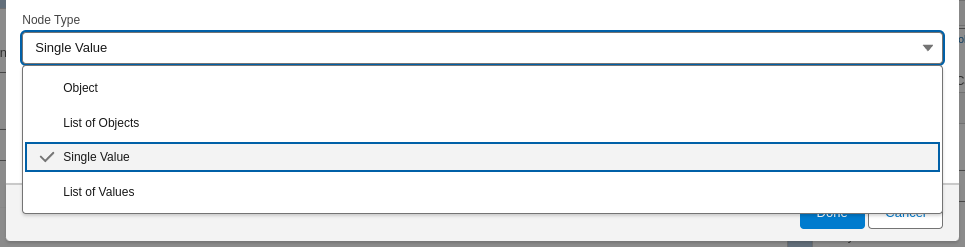
Here are a few more details to help you on your Node Type selection:
- Object: This will create an object node in JSON, containing another structure of key-value pairs. You only need to provide the name of the node. After adding the Object node, you can add additional nodes inside this object by clicking the “+” button inside the newly created node.
- List of Objects: If this is selected, it will generate a list of objects in JSON. Similarly to the Object nodes, you can add additional nodes inside the list by clicking the “+” button inside the newly created node.
- List of Values: If you select this option, you can define a list of values type of the node.
- Single Value: Use this option to receive single values in a node.
Node Data Type

This lets you choose the data type of the JSON node value. It can be Text, Number or a True/False value.
Create from sample JSON request
If you utilized the ‘Create from sample JSON request’ button in the previous step, your API documentation from the app or platform being implemented will also have a Returns section that you can copy from. In the previous example, we used QuickBooks, so we’ll reference this in the example below:

Just as we did previously, copy the Returns sample from API documentation and select ‘Generate from sample JSON’ button and paste your example.

You will see the Return Body generated for you. As mentioned, you can also do this manually by creating your Node Name and Node Type, but again, no values or fields will be mapped.
Generate based on fields from Main Object
If you want to generate the JSON body based on fields from the main object, click the “Generate from Main Object fields” button.

It will open a popup that will allow you to select the fields used to generate the body.

Once you select all the fields, click “Generate and replace existing body” and see the JSON body being generated for you.
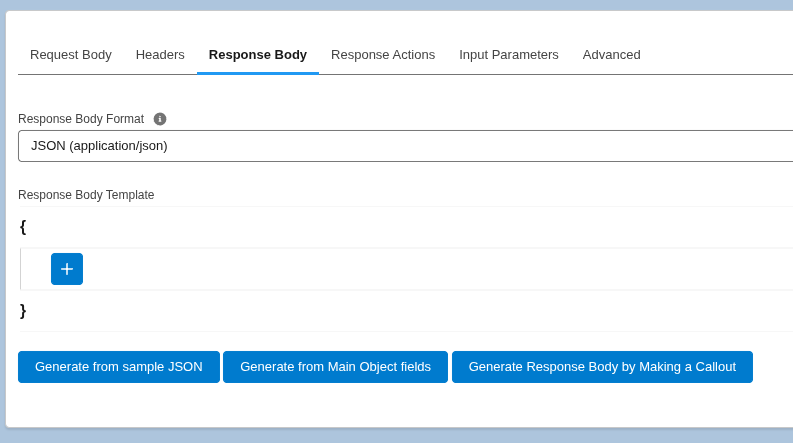
Generate the response body by making a callout
No more parsing through the docs! You can actually make a call to generate the response body. The returned response from the call can be used as the response body structure in the template. All you have to do is click on the Generate the response body by making a callout button at the bottom of the page.
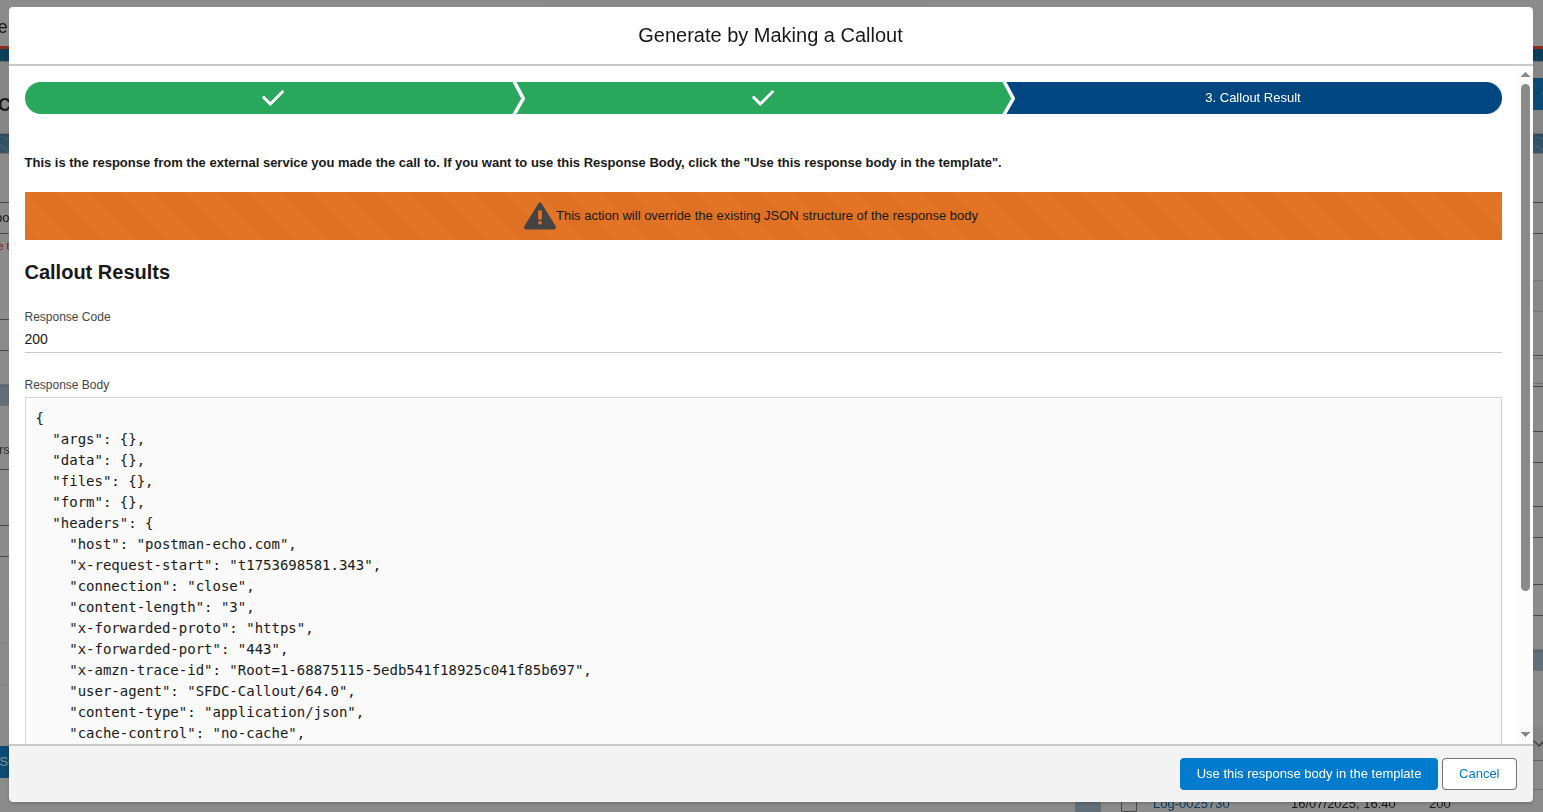
That will open a popup where you can make a call and then display the response body and use it to define the response structure.
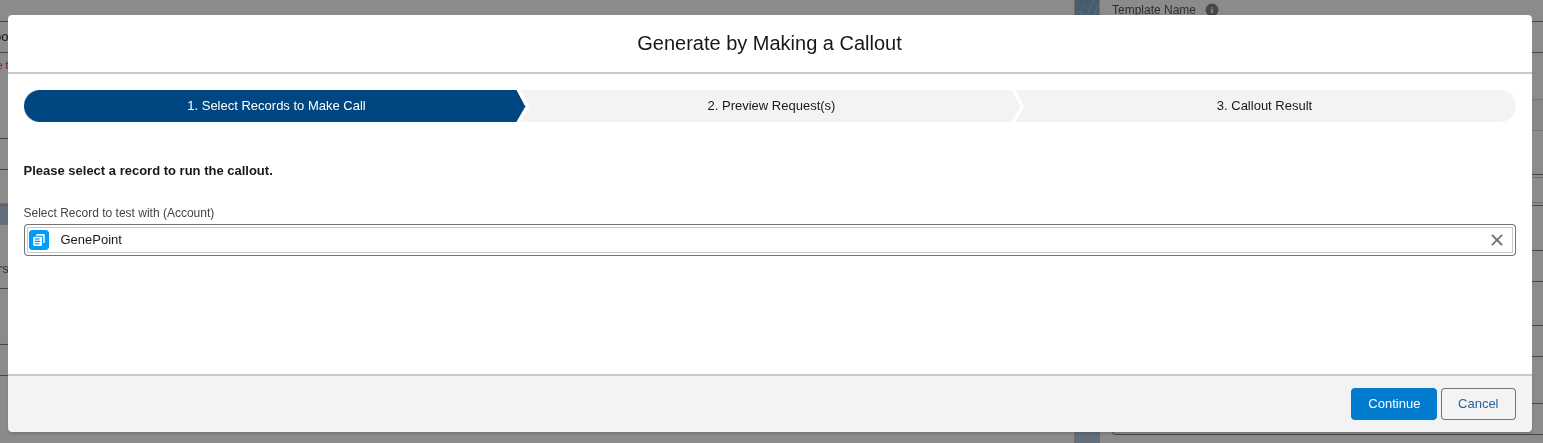
After selecting the test record, you can review the request, then click on Make Call.
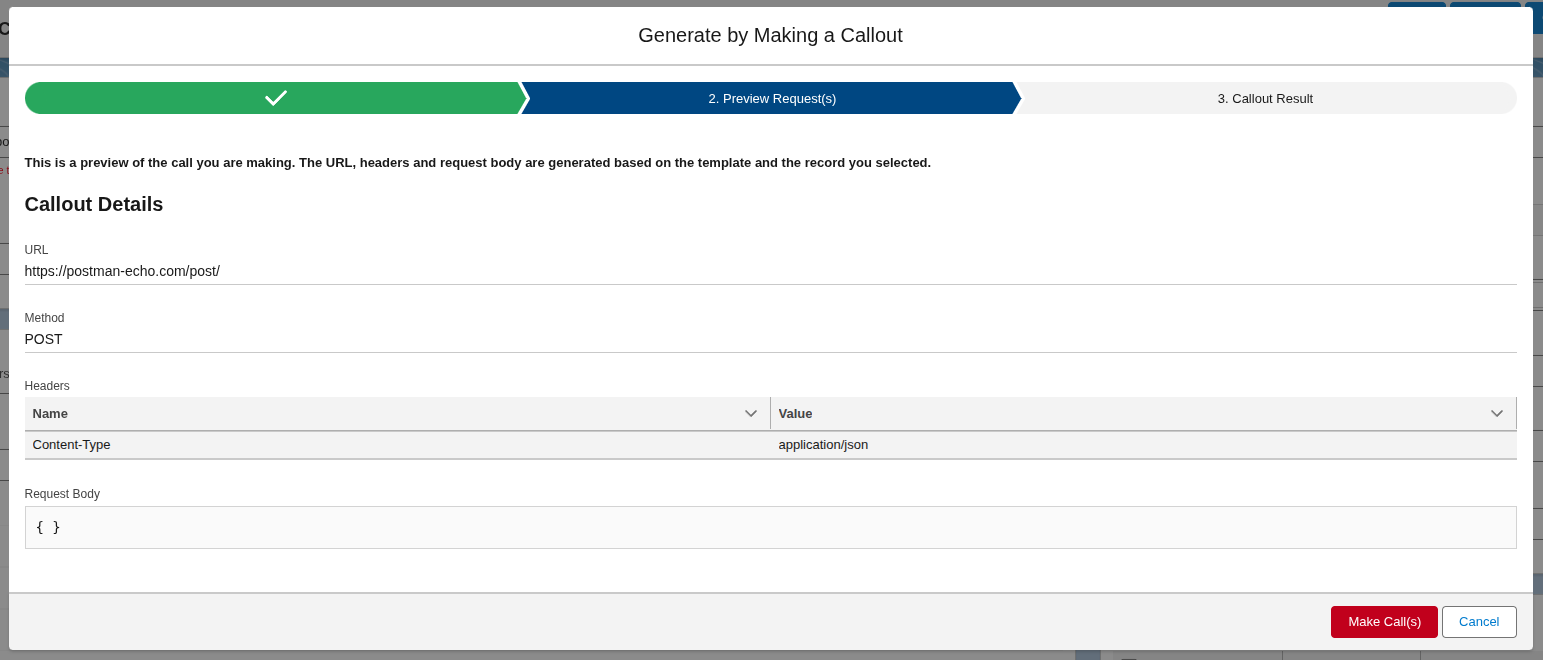
After the call is done, you can review the response and either use that response to define the structure of the response body or cancel.